
Easy and Perfect Chocolate Banana Bread
Kana | Your Neighbourhood Doula
Let’s be real—banana bread is the hero we never knew we needed. It’s the go-to recipe for when your bananas have hit the retirement phase of their lives, and you’re just not ready to let them go. Too mushy for a snack? Perfect for banana bread! Bruised and brown? Ideal for baking!
I think I make this recipe once a month. It's a staple in our household. You can also freeze it and reheat later so it's perfect as a postpartum snack!
If you ever think you're adding too much chocolate? No such thing.
Ingredients:
- 2 cups (250 g) of all-purpose flour
- 1 teaspoon baking soda
- 1/4 teaspoon salt
- Optional: 1/2 teaspoon ground cinnamon
- 1/2 cup (113g) of unsalted butter (This can be salted, just reduce the amount of real salt from the recipe)
- 3/4 cup (150g) of brown sugar
- 2 large eggs, at room temperature
- 3 ripe bananas (The riper the better!). Mash them with a fork
- 1 teaspoon vanilla extract
- 3/4 cup of chocolate of your choice
- Optional: 2 teaspoons of chia seeds
Recipe:
- Pre-heat oven to 180 °C / 350 °F. One tip is to move the oven rack to a lower position so that the top of the banana bread doesn't brown too much!
- Prepare two bowls, one for dry ingredients and another for wet
- In the dry bowl, add flour, baking soda, salt and cinnamon (optional) and whisk them all together
- In the wet bowl, add your room temp butter and brown sugar and mix them well together until they become smooth texture. If your butter isn't room temp, all good. Just microwave it for a bit!
- Add the eggs, mashed bananas and vanilla extra to the bowl with butter and sugar
- Add the dry ingredients into the wet ingredients little by little. Combine all together until you can't see any dry ingredients
- Add the chunks of chocolate! I reduce the amount of sugar I add when I want more chocolate hehe
- Pour the batter into a prepared baking pan (A deep loaf pan is common)
- Put that into the oven and cook for 45-55 min.
- Let it rest and voila!
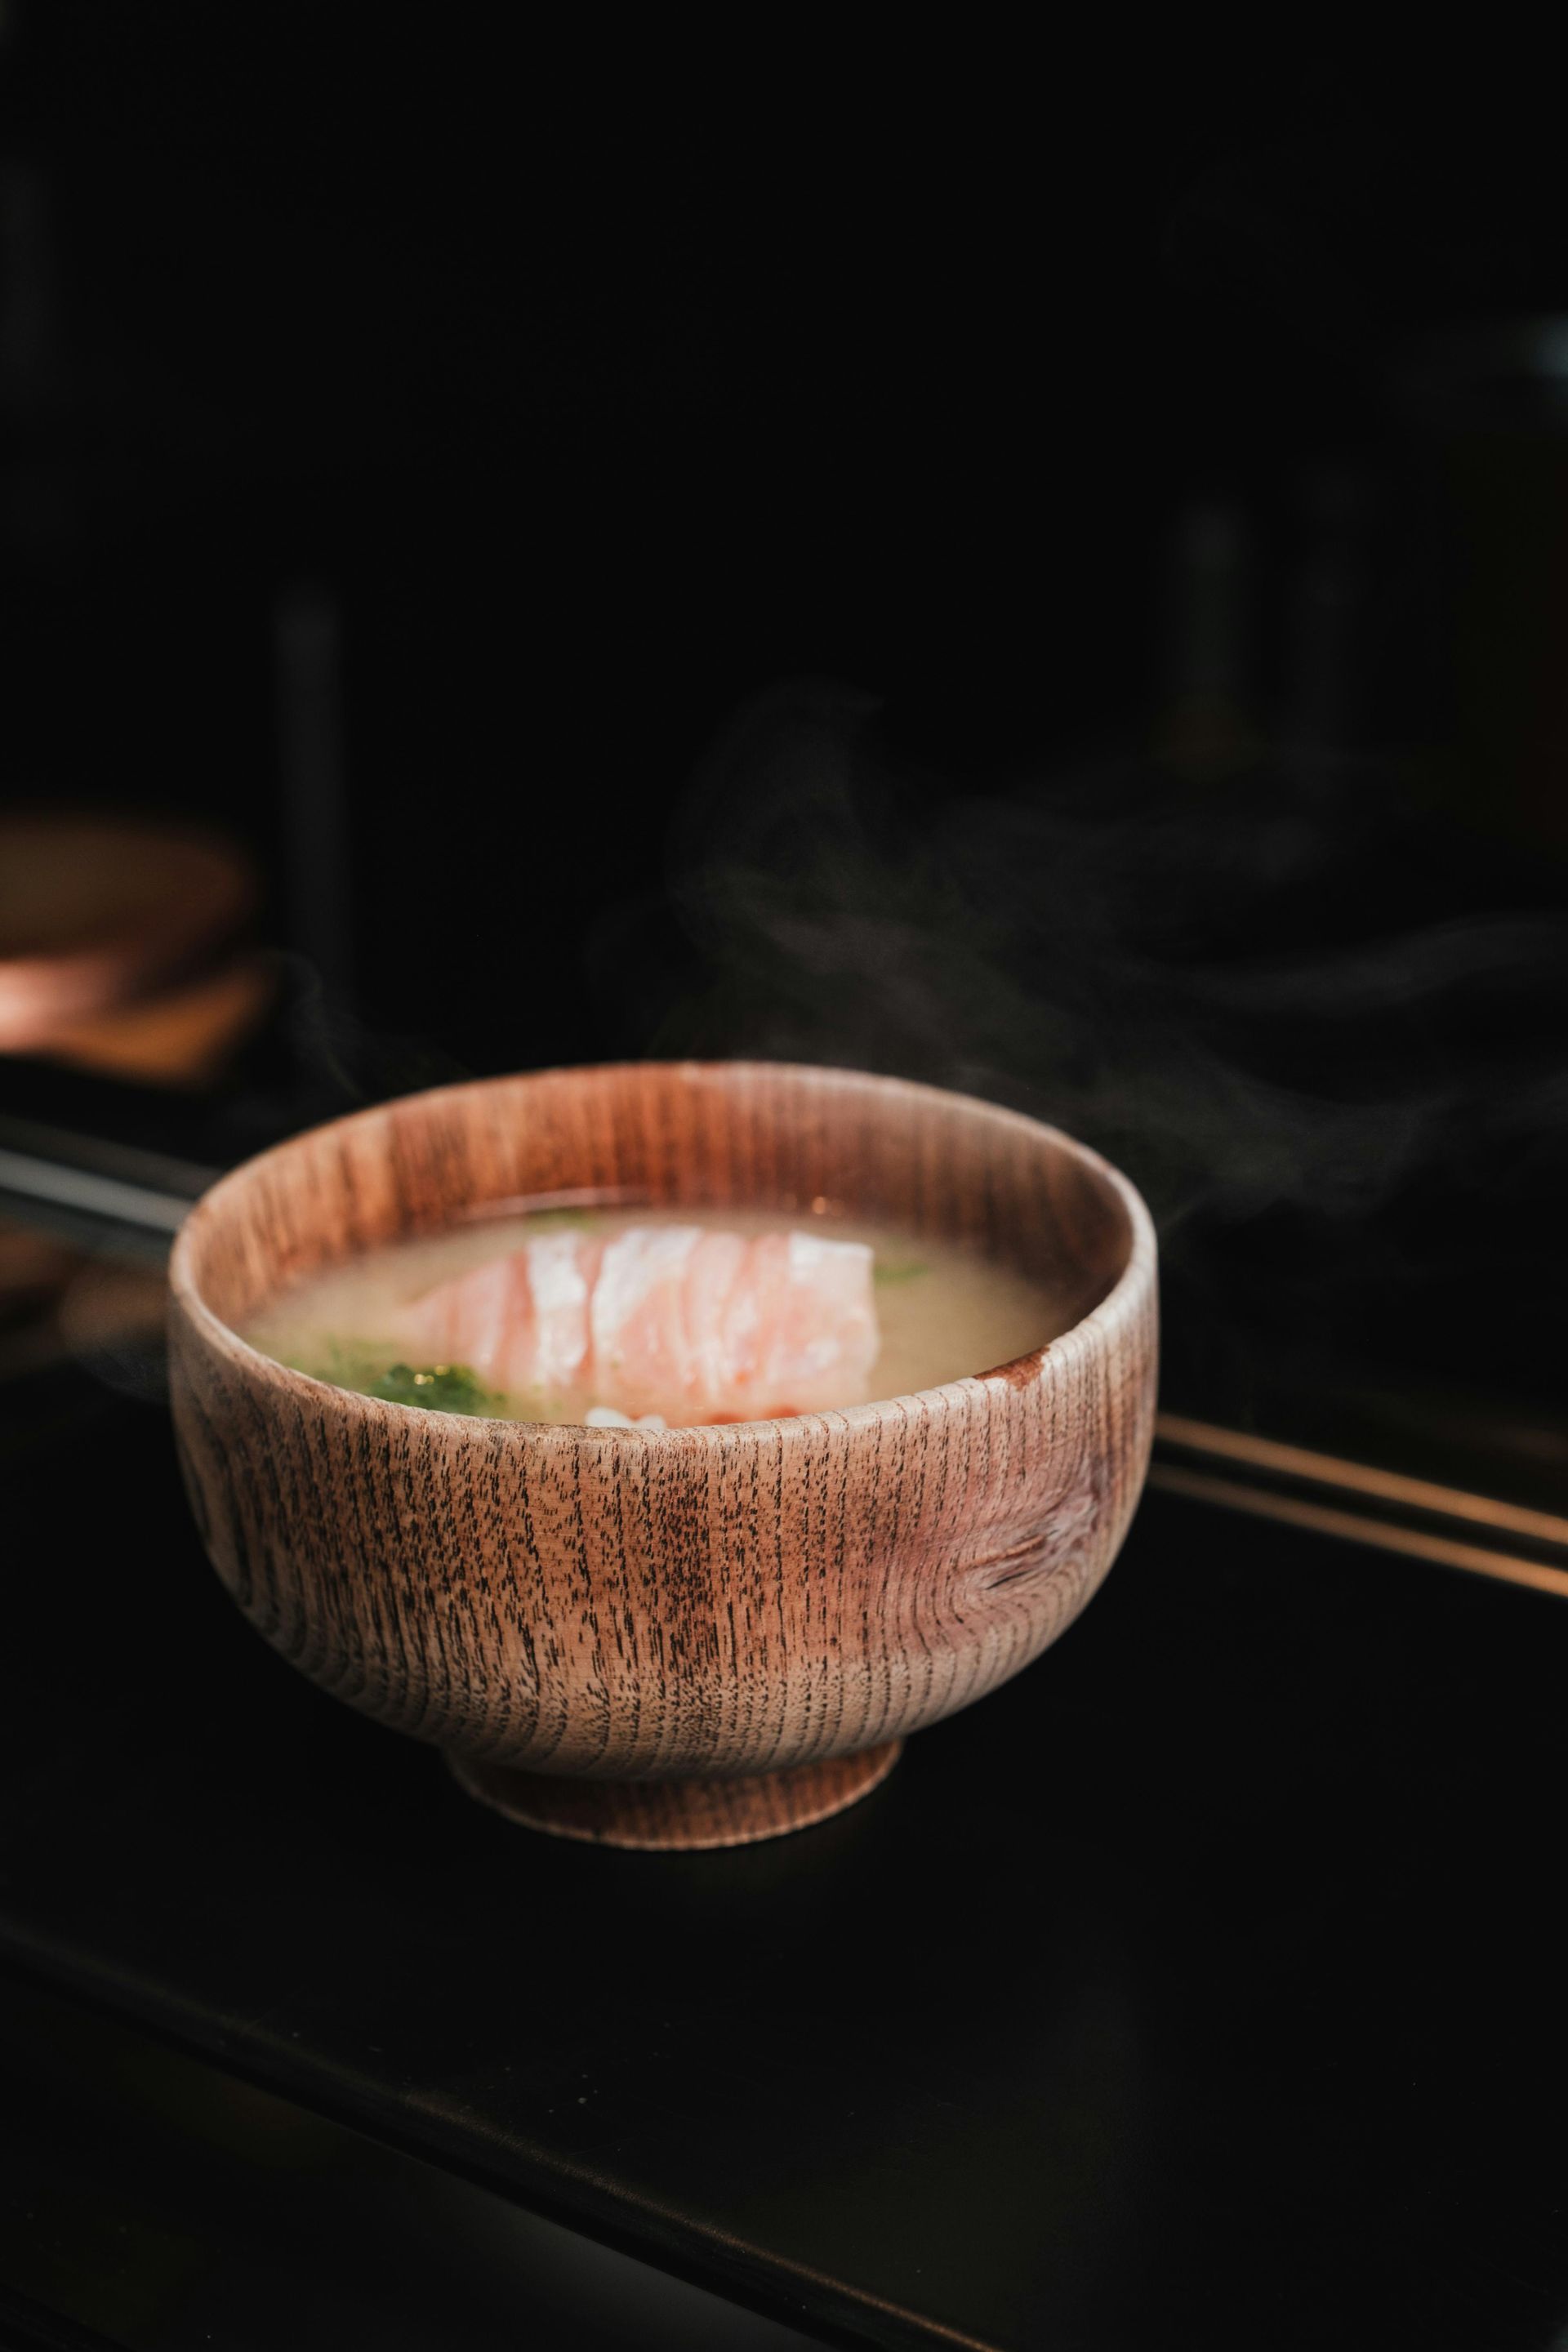
🥣 Postpartum-Friendly Comfort Bowl
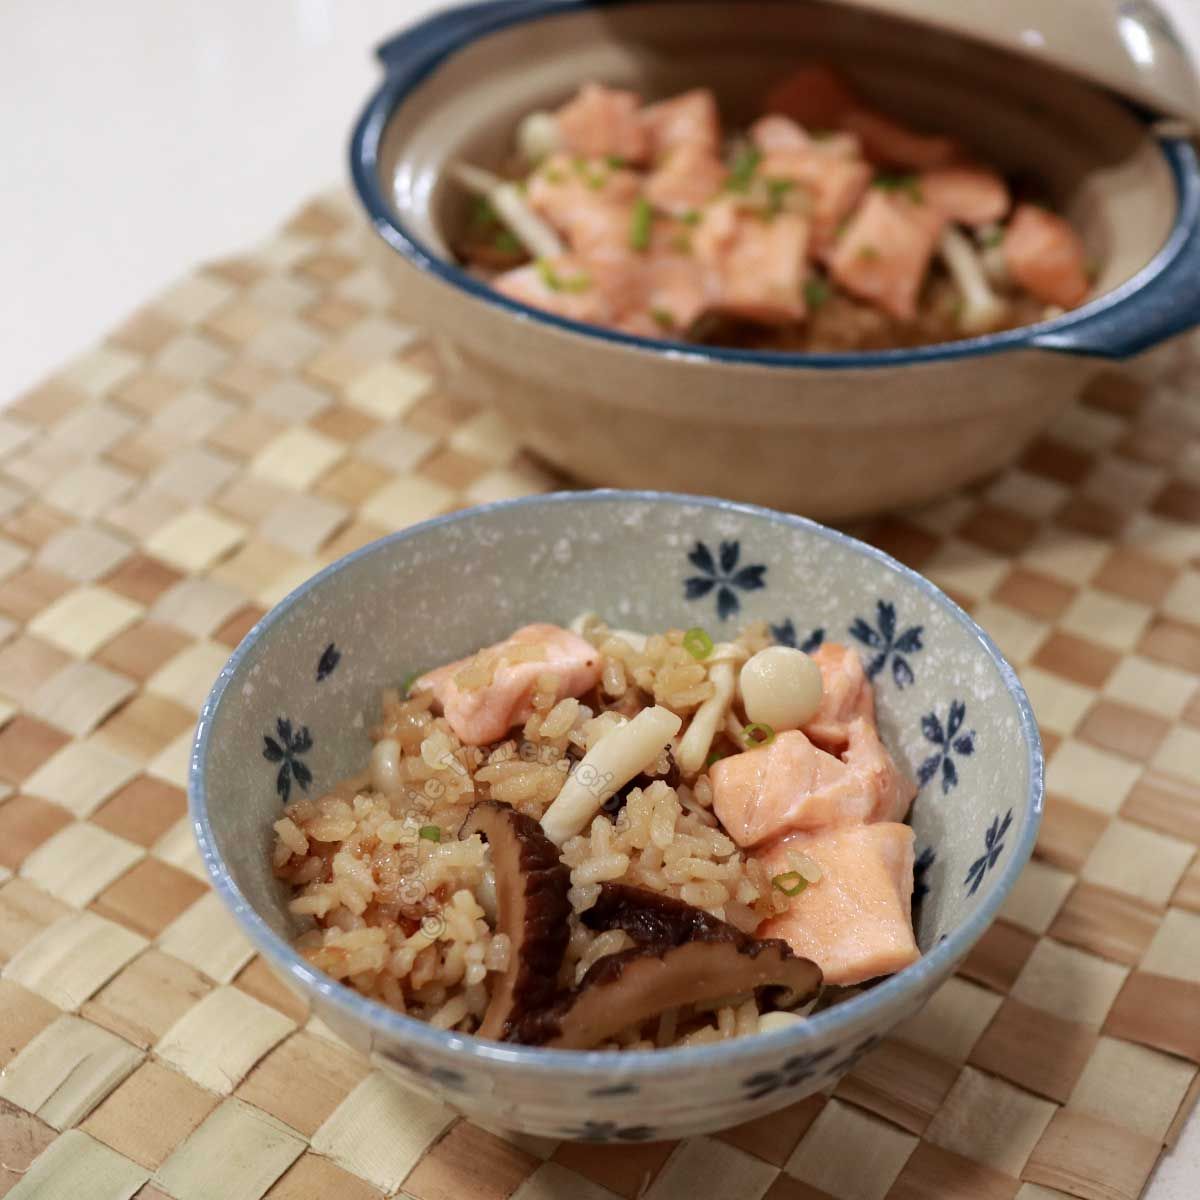
An easy and nourishing postpartum meal with salmon, rice and mushroom.
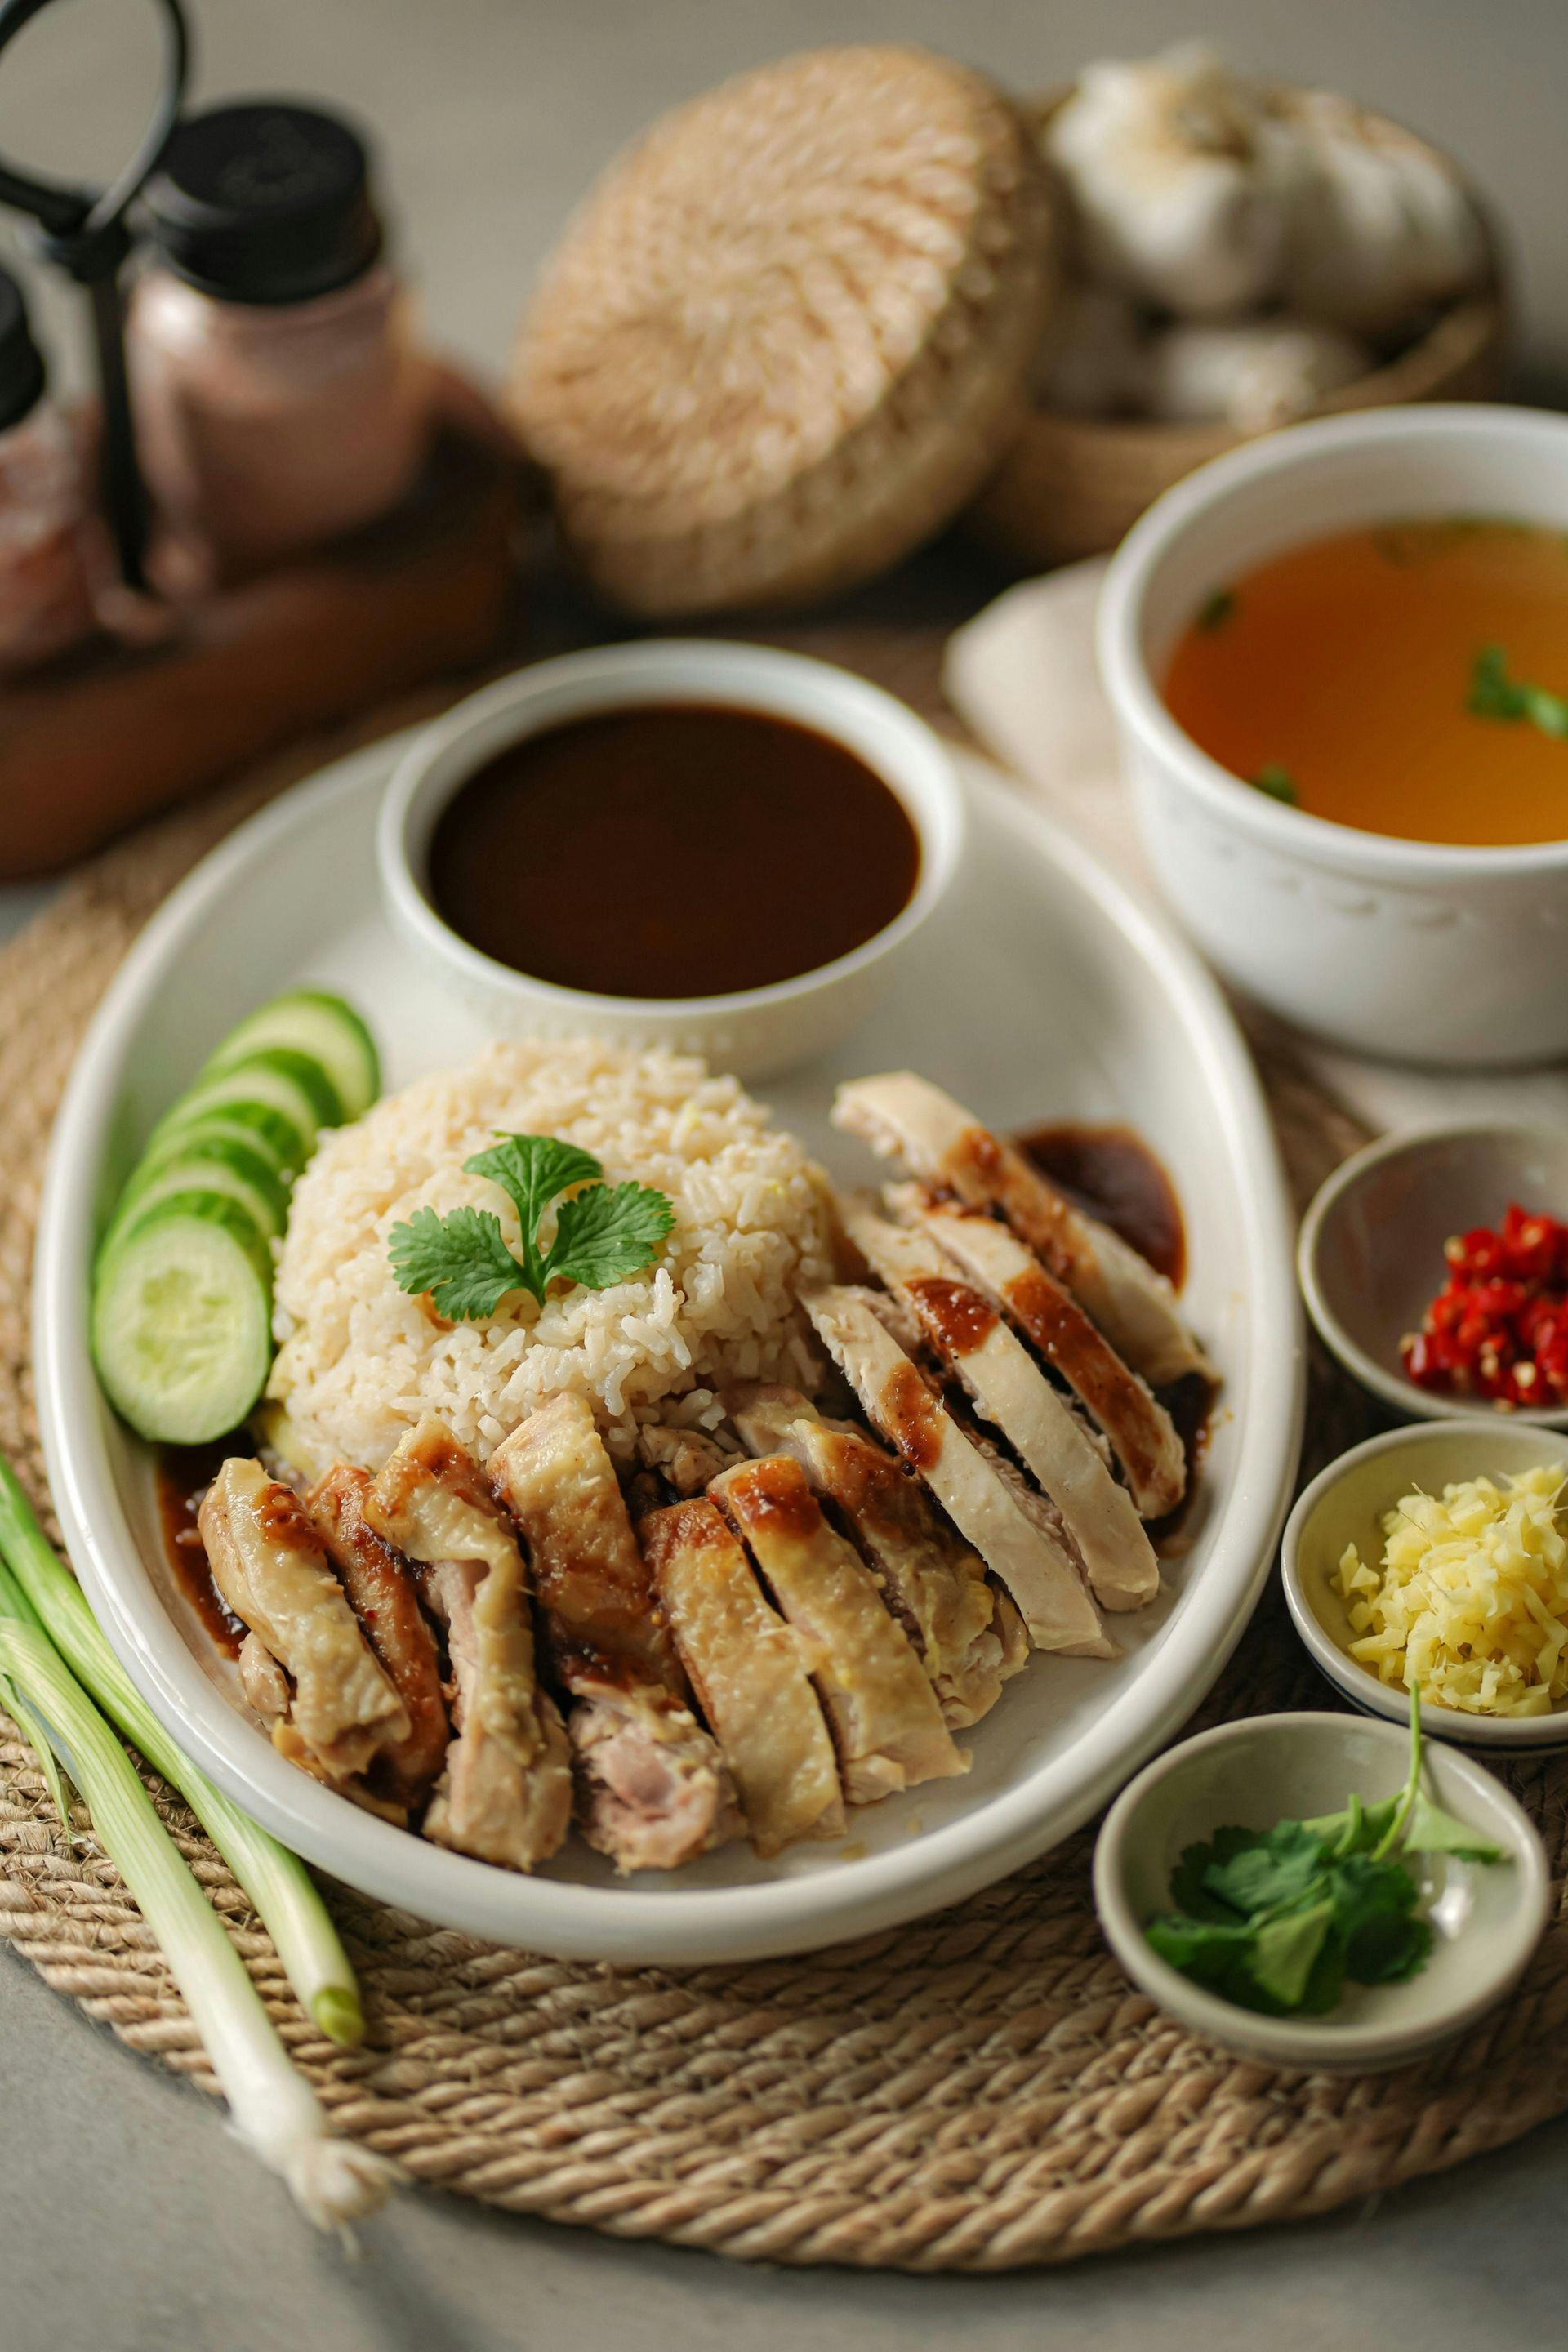
This one’s perfect for those postpartum days when you want something cozy but don’t have the energy for a big cleanup . Everything cooks right in the rice cooker — the chicken, the rice, all that flavour. The lemon, garlic, and ginger make it super comforting but still light and refreshing. Plus, it’s packed with ingredients that help with digestion and give your body a little boost when you’re running on empty. Ingredients: Chicken Marinade: 300g chicken thighs 1 tbsp cooking sake (or cooking wine) 1 tbsp soy sauce 1 tsp grated ginger 1 tsp grated garlic Black pepper to taste Rice: 2 cups of uncooked rice Water (as per rice cooker instructions) Sauce: 2 tbsp lemon juice 2 tsp soy sauce 2 tsp oyster sauce 2 tsp sugar 2 tsp grated ginger 2 tsp grated garlic Black pepper to taste Topping: Chopped green onions Instructions In a bowl, mix chicken thighs with the marinade ingredients. Let it sit for at least 15–30 minutes (or longer if you have time). Add rice and water to your rice cooker as you normally would. Pour in any leftover marinade from the chicken and mix it into the rice. Place the marinated chicken directly on top of the rice, close the lid, and cook. While it’s cooking, mix all the sauce ingredients in a small bowl and set aside. Once the rice cooker finishes, fluff the rice, serve everything on a plate, and drizzle the sauce over top. Garnish with chopped green onions and enjoy! Why it’s great for postpartum: Packed with protein , iron , and choline from the chicken — all key for healing, energy, and milk production. Ginger and garlic help digestion and immunity , while lemon adds vitamin C to boost iron absorption . One-pot, cozy, and nutrient-rich — exactly what postpartum meals should be.